As you will know from reading previous posts on this blog, I really think that Sunday roasts are great. There’s nothing better than having a nice relaxing Sunday with my family, culminating with everyone sitting around the table and piling their plates high with all of the various elements. When preparing everything, each member is normally given a job to do, so someone will be peeling the veg, dad is in charge of the meat and mum will be making a lovely crumble for afterwards. Doing it this way makes the whole process much simpler and it’s really sociable, everyone has a bit of a natter and catches up.
The only problem about the roast dinners that my family make is that they’re so hard to replicate when it’s just for Katie and I. For one, the workload goes way up, and so the whole process is more intensive, but also, it’s much more stressful trying to juggle everything around in a tiny kitchen with a small oven!
We also really enjoy skipping this whole process and going out the to pub for a roast dinner instead. It’s always nice to go out and be cooked for, as it is to sit in a bustling pub with a pint. But more often than not, we find that roast dinners cooked in pubs are far inferior to those cooked at home. Perhaps it’s the nostalgic value of sitting around with the family, but it’s also difficult to mass produce roast dinners whilst still making everything amazing. It’s not just about the meat, but the veg (especially the potatoes) need a lot of thought as well. And there certainly needs to be enough gravy... We will keep searching! I keep on hearing that the roast dinner at Hawksmoor is incredible, so that’s definitely on my to try list.
Recently Katie and I got back from our holidays on a Sunday evening and really fancied a big roast dinner, but had to miss out because it was so late. As we both had the next day off before returning to work, our answer to this terrible problem was to have a Monday roast. So it was off to the butchers to get a nice piece of meat and this is what we made.
When buying beef for a roast there are a number of different cuts to choose from. Cooking big joints of beef at home is not something I do very often, and it is always a massive treat, so when I do I try and get as good quality as I can. For rare meat, a piece of rib is amazing, tender and flavoursome. It is expensive but worth it. Another option is to slow cook. For this I like to use a nice piece of brisket, cooked gently for as long as I can. The meat will just fall apart when it’s on the plate. In this case, there was a lovely rib joint available so I snapped it up. The joint I bought was 1.3kg, which was perfect for just the two of us as we had loads of leftovers, but buy as big as you can as it will roast much better.
This recipe shows how to cook the beef and potatoes, to be serves with side vegetables of your choice. If you are lucky enough to have a double oven then you can cook the potatoes at the same time as the beef, which will save lots of time!
Serves 4
Ingredients:
For the beef:
1 x 1.3kg rib joint of beef, preferably on the bone
6 cloves garlic, peeled and left whole
2 carrots, halved lengthways
2 sticks celery, left whole
2 x onions, cut into quarters
a few sprigs of thyme
salt and pepper
For the potatoes:
8 - 12 large maris piper potatoes
6 cloves garlic, left whole
4 large shallots, paper peeled, trimmed but left whole
a few sprigs of thyme and rosemary
3-4 large tbsp of duck fat, or olive oil for vegetarians.
salt and pepper
For the gravy:
1 large glass red wine
1 litre good quality beef stock
salt and pepper
Pre-heat the oven to 220ºC.
While the oven is heating up, peel the potatoes, cut them in half and place in a large saucepan of cold water. You want to leave them fairly large as you always loose a bit when you fluff them up later. Put aside.
Get a medium sized roasting tin that you will use to roast the beef, and line with all of the vegetables that are listed under the beef. You want it to form one even layer in the bottom. Coat with a little olive oil and salt and pepper.
When the oven is hot, season the meat well and rub it all over with olive oil. Place on top of the vegetable trivet and put into the oven. To roast the meat you will need to weigh it and calculate the timings, there are loads of different methods around but I use the following:
For the first 20 minutes: 220ºC
Then turn the oven down to 170ºC and cook for 30 minutes per 1kg of meat for rare.
So for a 1.3kg piece of meat I put it in for 55-60 minutes. Take it out slightly earlier for rarer meat.
While the meat is roasting, change the water that the potatoes were sitting in, add lots of salt and bring to the boil. Simmer gently until the potatoes are almost falling apart, then carefully drain. Using a sieve, shake the potatoes to fluff up the outside - this will turn amazingly crisp when roasted. Cover and pop aside until the meat comes out.
When the meat is cooked, place the meat on a plate and cover with tin foil. Allow to rest while you cook the potatoes, it will still keep warm. Do not discard the vegetables that were underneath these will be used to make the gravy later on.
Turn the oven down the 200ºC and put a large roasting tray into the oven with the duck fat for a couple of minutes. When the fat has heated up, put the tray on the hobs and turn to a high heat. Carefully tip in the boiled potatoes, along with the shallots, garlic cloves and herbs. Turn everything in the hot fat and make sure it gets coated, before putting the tray in the oven for 45 minutes - 1 hour, turning every 15 minutes.
When the potatoes are cooking, make the gravy. Heat the beef stock up in a saucepan, and put the oven tray that held the beef on the hob and heat to a medium - high heat. Using a spoon, scrape the bottom and sides of the tray and mash up the vegetables, and when the tray is hot, add the wine. Let it reduce by half, keeping stirring and scraping. Add the beef stock and again bring to the boil and reduce until the sauce is dark and slightly thicker. Season the gravy, strain into a jug and keep warm until everything is ready.
When the potatoes are crisp on the outside and nice and golden take them out of the oven. Carefully remove the tough outer skin from the shallots. Try and time this to fit in with all of your additional side dishes. When everything is cooked, unwrap the beef and cut into thin slices. Serve with horseradish sauce and a nice glass of red wine.
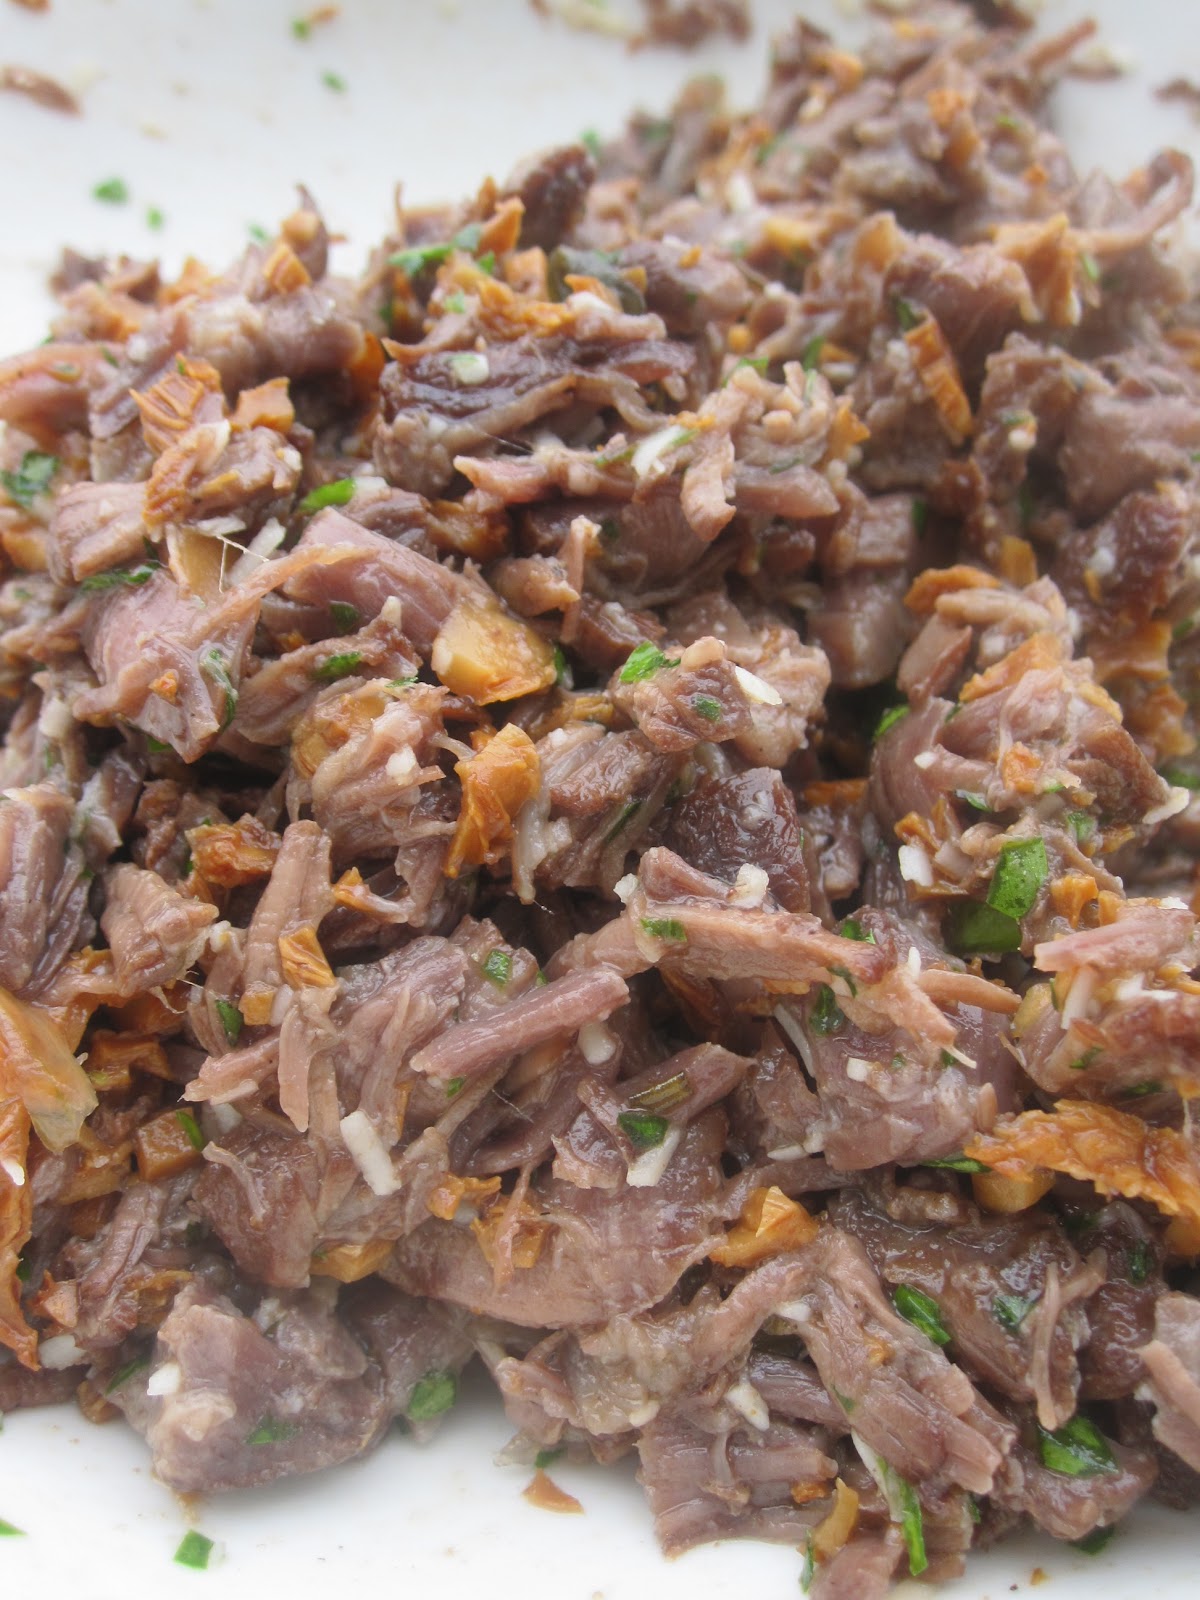
And if you have any leftovers, apart from making mega sandwiches, you can use them to great effect in the next recipe.
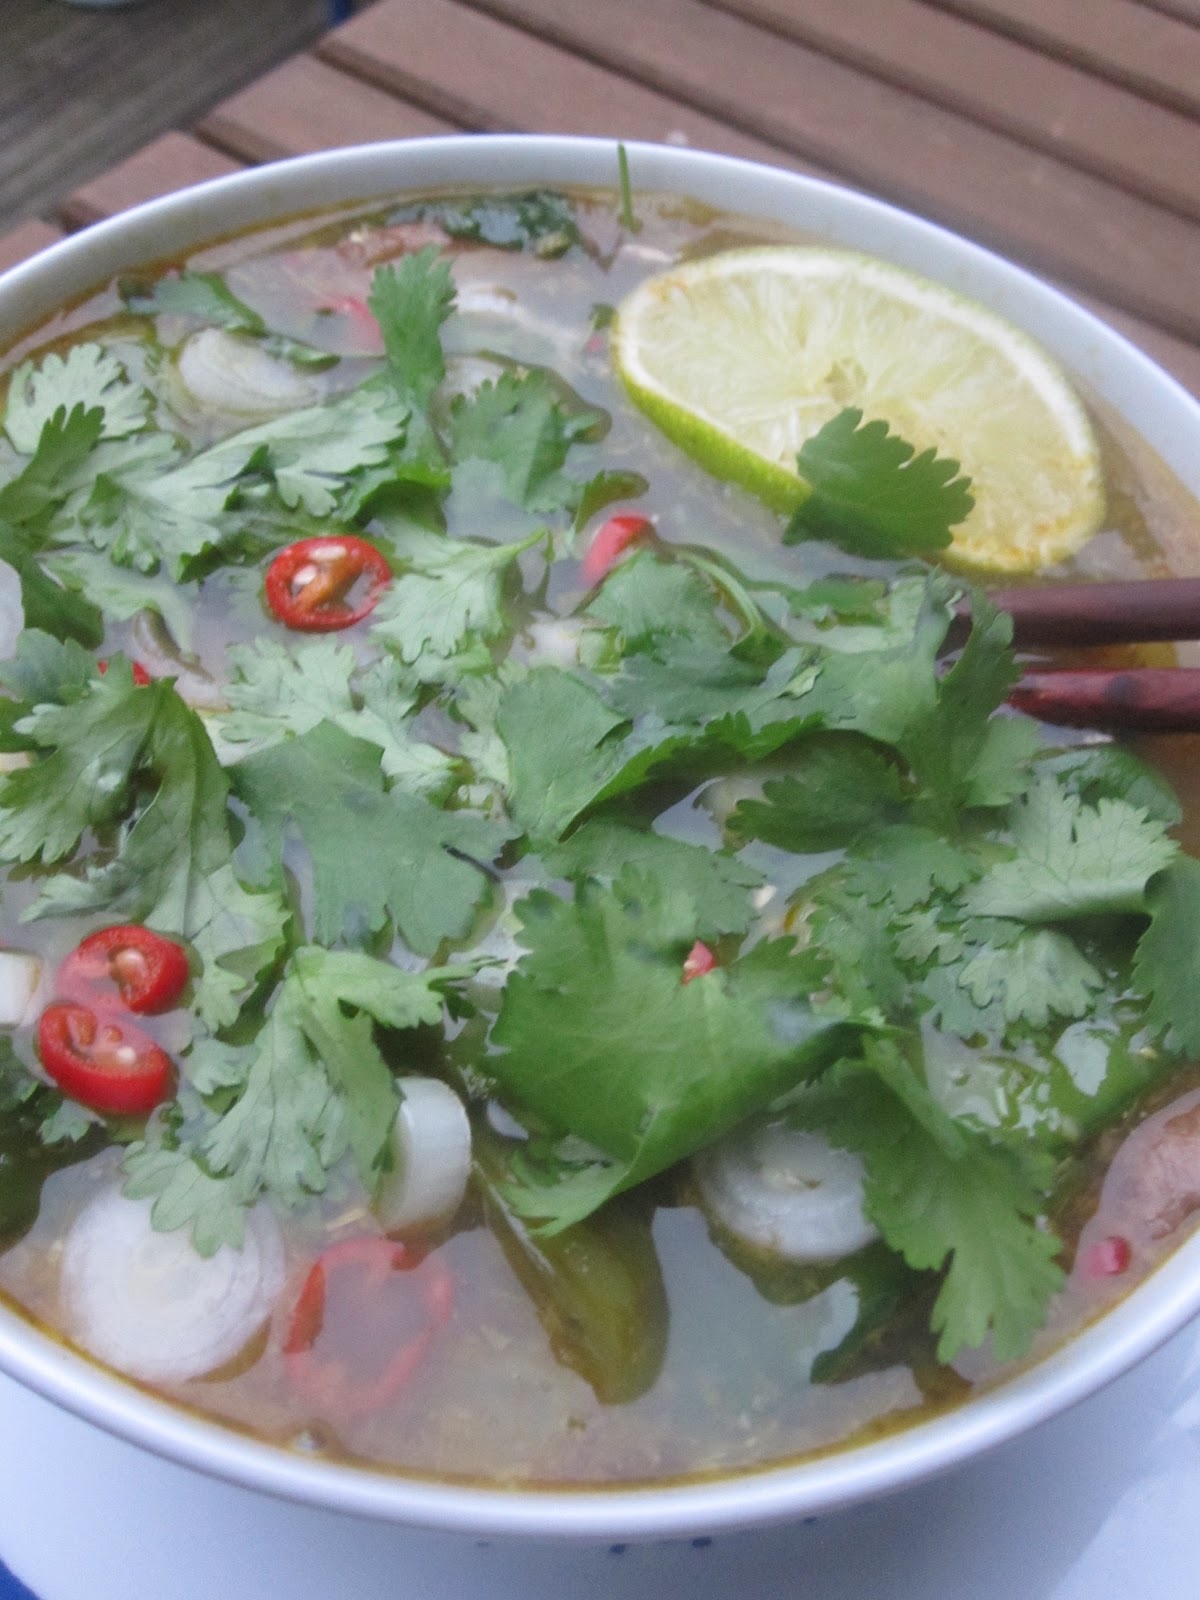
Spicy beef noodle soup
Over the last few years I have really got into making soup, and I often eat it 2-3 times a week for dinner. They’re just so easy to make, can taste great and use up all the leftovers in the fridge. They also keep well, and when having a busy week at work it is lovely to think that dinner just needs heating up when I get home.
This soup is a great base for using up any meat, particularly chicken and beef, but it will also work well with shellfish. You can also tailor it to your own tastes, adding a bit of sugar, more chilli, lime etc. If you are making a larger batch to last a couple of days, reserve some of the vegetables to add when reheating as you only need to cook these at the last minute.
Serves 6 very well
Ingredients:
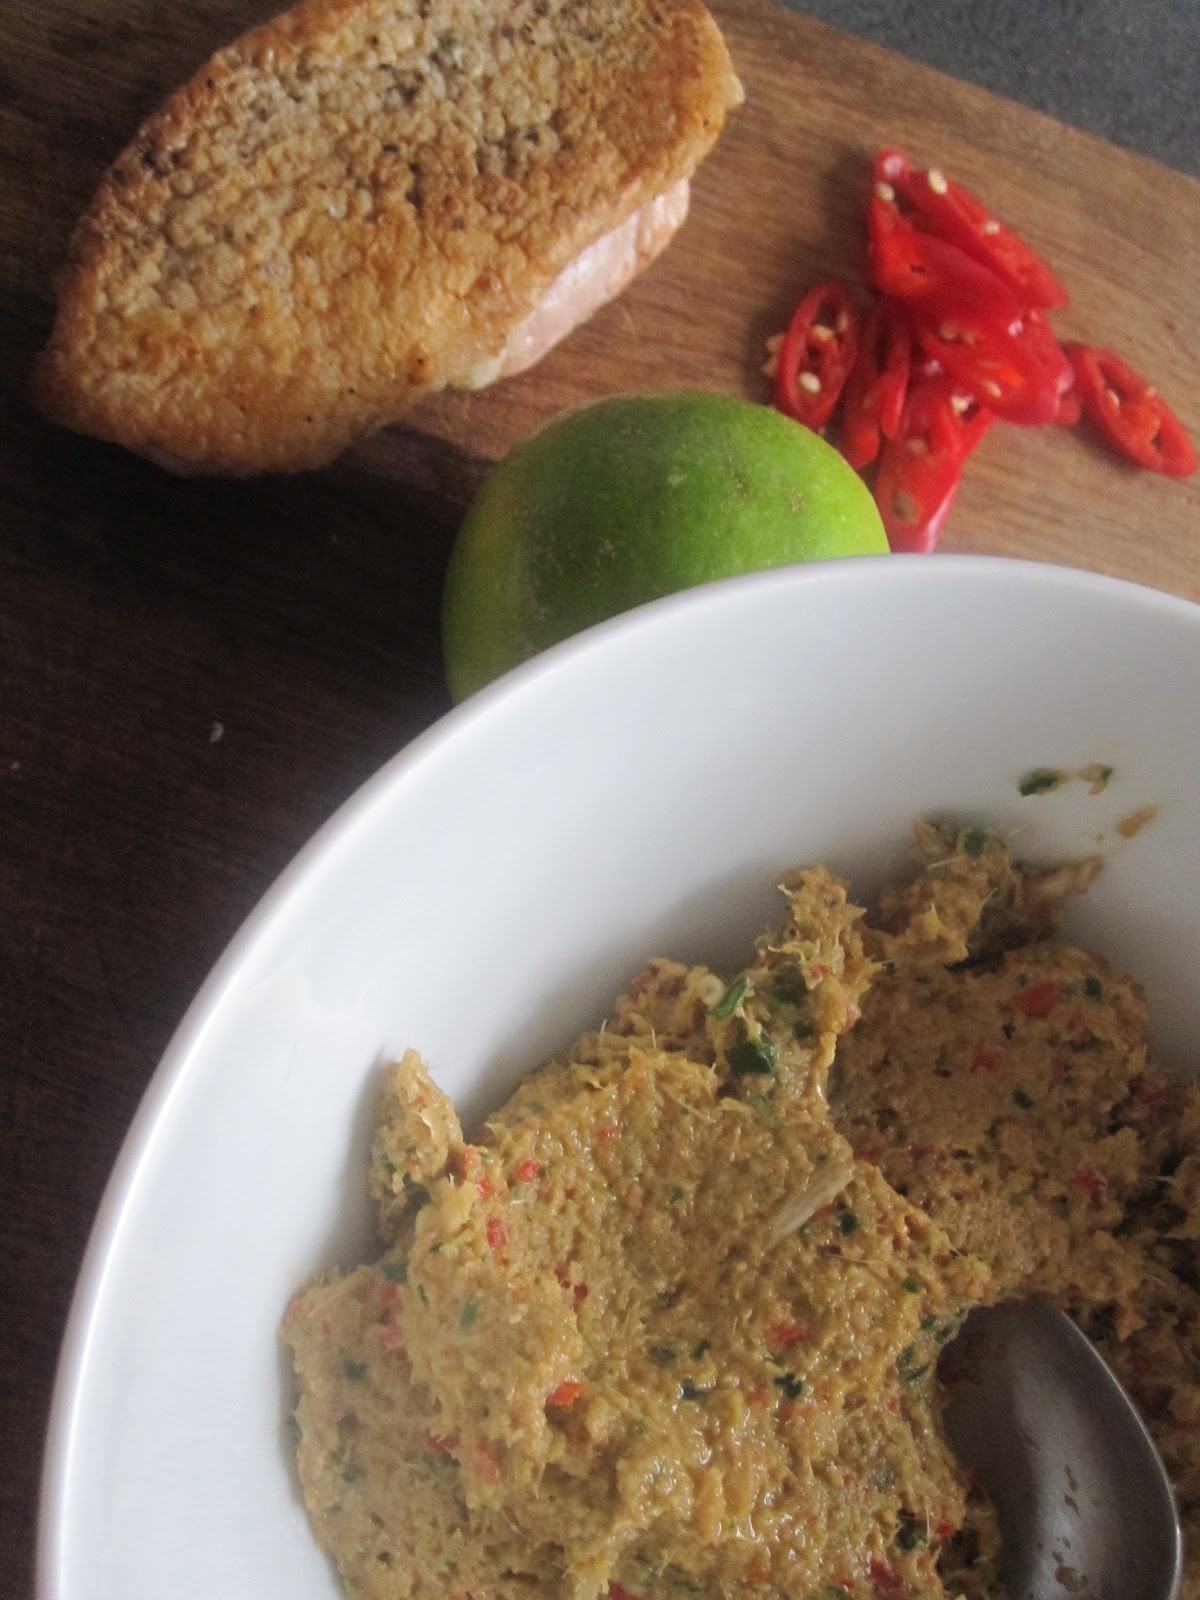
For the paste:
1 large shallot
2 red chillies
150g ginger, peeled
5 cloves garlic
5 sticks lemongrass, outer leaves discarded
roots from a large bunch of coriander, washed, leaves kept for finishing the soup
1 lime, juice
salt and pepper
olive oil
For the soup:
3 litres chicken stock
1 tbsp fish sauce
1 tbsp light soy sauce
2 pak choi, peeled
100g mange tout
200g chestnut mushrooms, sliced
2 shallots, sliced
2 bunches spring onions, sliced into large strips
Meat of your choice, leftover beef, boned and sliced chicken thighs, prawns etc
Noodles to serve 6
To finish:
1 large bunch coriander, torn roughly
1 red chilli, sliced thinly
2 limes
2 or 3 spring onions, sliced thinly
To start, heat the stock up in a large saucepan until boiling then keep warm until needed.
To make the paste, put all ingredients except the oil into a food processor and blitz until fine. Add the olive oil until the mixture forms a thick paste.
In a separate large saucepan, heat a little olive oil and cook the sliced shallots on a medium heat for a couple of minutes until softened. Add the paste and continue to heat for about 5 minutes, stirring frequently.
Add the chicken stock, fish sauce and soy sauce to the paste and mix everything together. Bring the soup back to a simmer for about 20 minutes, while you prepare the rest of your ingredients. If using raw chicken thighs, you can add them at this point to cook through.
Heat up a saucepan of salty water and cook the noodles as directed on the packet.
While the noodles are cooking, add the mushrooms, mange tout, spring onions and cooked meat if using. You just need to heat these through and don’t want to overcook the vegetables. Squeeze over the juice of one lime, taste and season the soup if necessary.
To finish, add the noodles to the bottom of each bowl and top with a few ladles of soup. Sprinkle over the torn coriander leaves, sliced chilli and sliced spring onions, and squeeze over the remaining lime and you’re ready to serve.